SPLINTERS
Tennessee Valley Woodworkers
 Vol. 16/ Issue7
July 2001
Editor: Tom Gillard Jr.
Vol. 16/ Issue7
July 2001
Editor: Tom Gillard Jr. 

Meeting Notice:
The next meeting of the TN Valley Woodworkers
Will be held, July 17 at 7:00 p.m. in the
Duck River Electric Building, Decherd, TN
All interested woodworkers are invited!

The following people have agreed to serve as contacts for their particular
skills. If you have questions, suggestions
for activities, or other comments relating to these skills, please
call these folks. Their interest is to help the
club better serve their area of expertise. Your participation
with them will help them achieve that goal.
Alice Berry 454-3815 Design
Phil Bishop 967-4626
Finishing
Tom Church 967-4460 Turning
Harry May 962-0215
Carving
Bob Reese 728-7974 Sharpening
Jim Van Cleave 455-8150 Joinery
Maurice Ryan 962-1555 Health and Safety

July program will be on shop SAFETY.
One of the managers from Lowe's will be the guest speaker.
Calendar of Events
Sept. 21-22: Coffee County Fair
Oct. 20: Fall Seminar: Turning
Dec. 7: Club Christmas Party
Note from Jim Del Toro, Fall
Seminar chair
The fall seminar is set for Saturday, Oct 20th.
This year's speaker will be Bobby Clemons, a nationally recognized wood
turner. He is President of the Tennessee
Association of Woodturners, a member of the Brasstown
Woodturners Guild in Brasstown, N. C., and was the founding President
of the Cumberland
Woodturners of Crossville, Tennessee. Bobby has taught classes at the
Appalachian
Craft Center, the John C. Campbell
Folk school and the Arrowmont School
of Crafts. He was featured on HGTVs Modern Masters Christmas show
in 1999 and 2000 demonstrating his technique on turning his style of Christmas
ornament. He and his turnings were also featured in the December 2000 issue
of the TENNESSEE MAGAZINE. He has also been featured on the TENNESSEE
CROSSROADS television show on PBS stations in Tennessee. Bobby will
provide turning demonstrations on his Christmas ornaments as well as turning
salad bowl, and rough edge bowls. More details will follow in future issues
of SPLINTERS".
Mark your calendars!
June Show and Tell
Doyle McConnell: drawer slide alignment and instillation clips.
Mary Ellen Lindsay: Carved Mother and child, out of American
Mahogany.
Jim Roy: Two maple bowls, the wood came from an ice storm damaged
tree.
Bob Leonard: 4 wooden knives with sheaths. 8 different wood used
to build them.
Barbara Keen: Twisted wood, lamp. Made from found wood.
Manual Brown: segmented bowl, 2 goblets and wooden bottle stoppers.
Matt Brothers: fluted tapered table leg made with a router.
John Sargent: Apple wood bowl
Henry Davis: walnut natural edge bowl.
Tom Cowan: Treadle lathe made in the early 1900s
Bob Reese: Twin violins, copy of a 1777 Italian type valued at
around $85,000.
_____________________________________________________________________________________
Crooked bedside lamps
Having scoured the department stores for a set of bedside lamps that
would match the rest of my bedroom furniture, I finally gave up and opted
for the more entertaining idea of making my own. The specification for
the construction of these lamps was simple: they had to be cheap (less
than $100 for both) and must use power tools that I already owned. The
result was a set of oak lamps that are unique (as far as I
know), but were constructed using only a jigsaw and an electric drill.
Construction
The stem of each lamp is made up of four pieces of oak (cherry would work
just as well), 11 inches high, 1 1/4 inches wide and deep. Firstly, number
the four pieces of wood and remember the order in which they are put next
to each other, thus forming a larger square of 2 1/2 inches wide and deep.
Using the template (see diagram on right) sketch the design
onto each block. To do this, fold the template in half along the dotted
line and position this over the block so that the design can be sketched
onto two sides. Before cutting, check that when the four pieces are placed
together, the result is the same as the template (i.e. the curved shape
that the final lamp should display).
Once each block of wood has been cut, there will be one corner edge of
each piece that displays no sign of a curve. This is the edge that is the
center of the lamp. At this point, it is necessary to make a slot for the
electrical cable to fit through from top to bottom. To do this, chamfer
an angle off the central edge of each of the four blocks (see diagram two).
When the four blocks are placed together there will be a neat, square hole
running all the way down the middle of the lamp.
Glue two of the shaped blocks together - forming a "double block" that
is 2 1/2 inches wide by 1 1/4 inches deep - using a good quality wood glue,
and clamp for several hours. Note that it is important to ensure that the
flat side of the clamped block lines up smoothly, as this is what the second
"double block" will be glued to. As the blocks are curved, it can be difficult
to use clamps. However, if the previously discarded waste wood is used
to fill the curves, this issue is easily resolved. Repeat this gluing process
on the remaining two blocks.
Finally, when both double blocks are securely glued, glue the two halves
together, thus forming the final shape of the lamp stem.
At this point, the top of the stem should have a 1 1/4 inch diameter hole
drilled in it, to an approximate depth of one inch. This hole will house
the light bulb electrical element (the item into which the light bulb is
screwed).
Once this is done, sand the stem using coarse, medium and fine grade sandpaper,
until the stem is suitably smooth.
Base construction
The base is almost an anticlimax after the rest of the project. Cut a piece
of wood 8 1/2 inches square and 3/4 inch deep and mark the center of this
lamp base by drawing a line from corner to corner, thus forming an "X".
Place the finished lamp stem over the center of this "X", and draw around
it carefully, thus marking the size of the hole needed to be cut in the
base piece. Again, this can be cut out using a jigsaw. However, be careful
not to cut out too much as the resulting hole should be a tight fit around
the stem. To ensure this tight fit, make the first cut one sixteenth of
an inch inside of the pencil markings, and then expand this cut outwards
if necessary.
Once the hole is a satisfactory fit, all that is left to do is to miter
the base to the design of your choosing, rather than leaving is as one
big block. On the lamp shown above, the miter cut down to a depth of 1/2
inch at each side, leaving the center as the full height of 3/4 inch. This
in turn was sanded down to a smooth curve when the base was sanded.
On the underneath of the base, cut out a rough groove from the center hole
the one edge of the base. This groove is used to run the wire along from
the stem to the edge of the lamp. Note that the edge chosen should be to
poorest of the four edges, as this will be the back of the lamp.
Putting it all together
The lamp stem should now be glued to the base, and left for several hours
to dry. It is obviously important to ensure that the stem is perpendicular
to the base during this stage, but if the base hole was a tight fit, this
should not be too difficult to achieve.
Once the glue is dry, thread the electrical wire through the stem. Connect
the wire to a light bulb electrical element and push this down into the
hole on the top of the stem.
To finish off the lamp, glue a square piece of felt to the underside of
the lamp to prevent the lamp from scratching other surfaces (and also hiding
the wire underneath) and wax the wood
ROUTER DRAWING

Just a reminder to resister at the meeting for the router drawing.
Remember that the only way you can register is to be at the meeting.
American Mahogany
Name
American Mahogany (Swietenia macrophylla)
Type
Hardwood.
Other Names
Also known as Honduras mahogany, true
mahogany, genuine mahogany, bigleaf mahogany,
cao, caoba, cobano, acajou, and aguano.
Sources
Grows from southern Mexico to Brazil.
Appearance
Generally straight grained, but sometimes roey,
wavy, or curly, with a fine to coarse, uniform
texture. Pale pink to dark reddish brown
heartwood and yellowish white sapwood.
Physical Props
Variable, but generally moderate weight,
hardness, and strength. Low stiffness and shock
resistance. Very good stability and decay
resistance. Moderate steam bending rating.
Working Props
Excellent working properties, including cutting,
turning, shaping, sanding, and gluing. Finishes
easily with a variety of finishes, although filling
may be required for ultimate smoothness.
Uses
Renowned for high-class cabinetry and furniture.
Also used for paneling, turnery, carving, patterns,
dies, model making, veneers, flooring, boat
building, and musical instruments.
PICNIC FOTOS
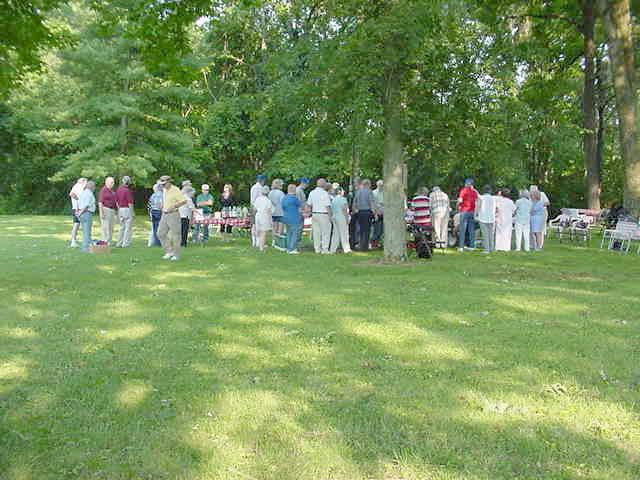
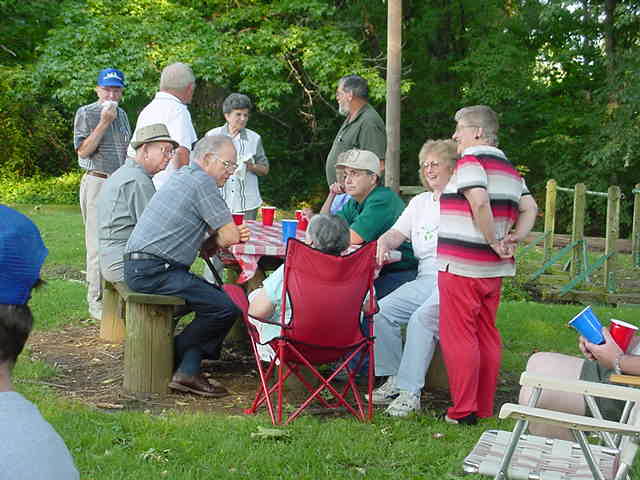
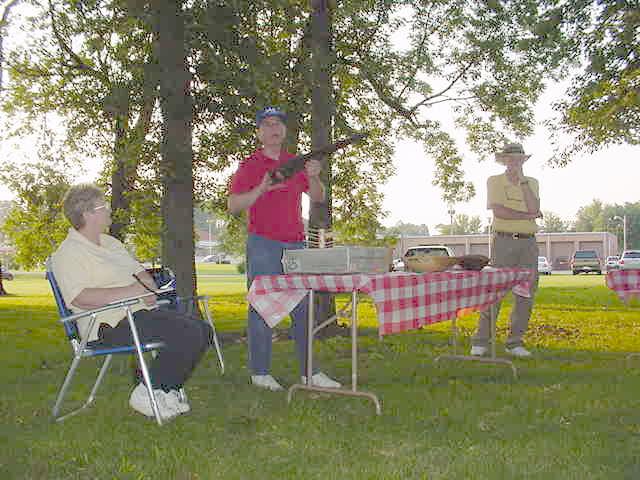
GREAT PICNIC! Thanks to everyone that helped
WEB
SITES of INTEREST
Arrowmont
School of Arts and Craft
WOOD
ONLINE newsletter
Falls Mill
Appalachain
Center for the Arts
Forest
Products Lab. 1999 Wood Handbook
Jim DelToro's Page
Highland Hardware
Woodworker's
Journal
Steve
Graham's Page
Russell Brown's Page


Saw Blade Sharpening Services: Branching Out is now offering their
services as a drop off spot to have your saw blades sharpened. The
blades will be picked up (Tuesdays), sharpened, and dropped back off at
Branching Out. The Leitz Tooling Systems out of Collierville, TN
will do the sharpening. Call (393-0525) or stop by for pricing.
Webmaster:
Tom Gillard Jr.